Stitch In Some Love
Have you pick up on the embroidery trend yet? We love all of it – from intricate designs on off-the-shoulder dresses to subtle sayings on a t-shirt pocket.
All the cute items currently catching our eyes tend to cost more than we’re able to spend. While we’re big fans of splurging on a piece you absolutely love, adding a little extra embroidered touch to an item you already own is an easy way to stay on trend and on budget!
Here at MH headquarters, we decided to try our hand at making a couple embroidered tees. After perusing Pinterest and getting intimidated by all the possibilities – anyone else with us?! – we decided to gather supplies and wing it! We kept it simple and picked up a few tips to pass along to you.
(P.S. If you want to see some of Monika’s favourite embroidered looks and stitch tutorials, check out her DIY Pinterest board.)

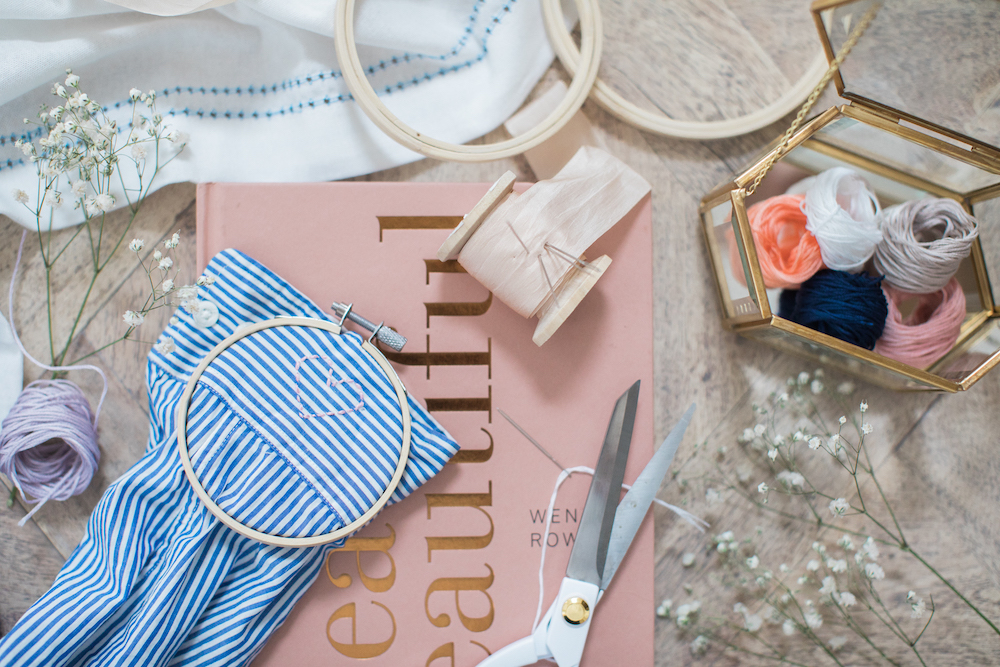
 What you need
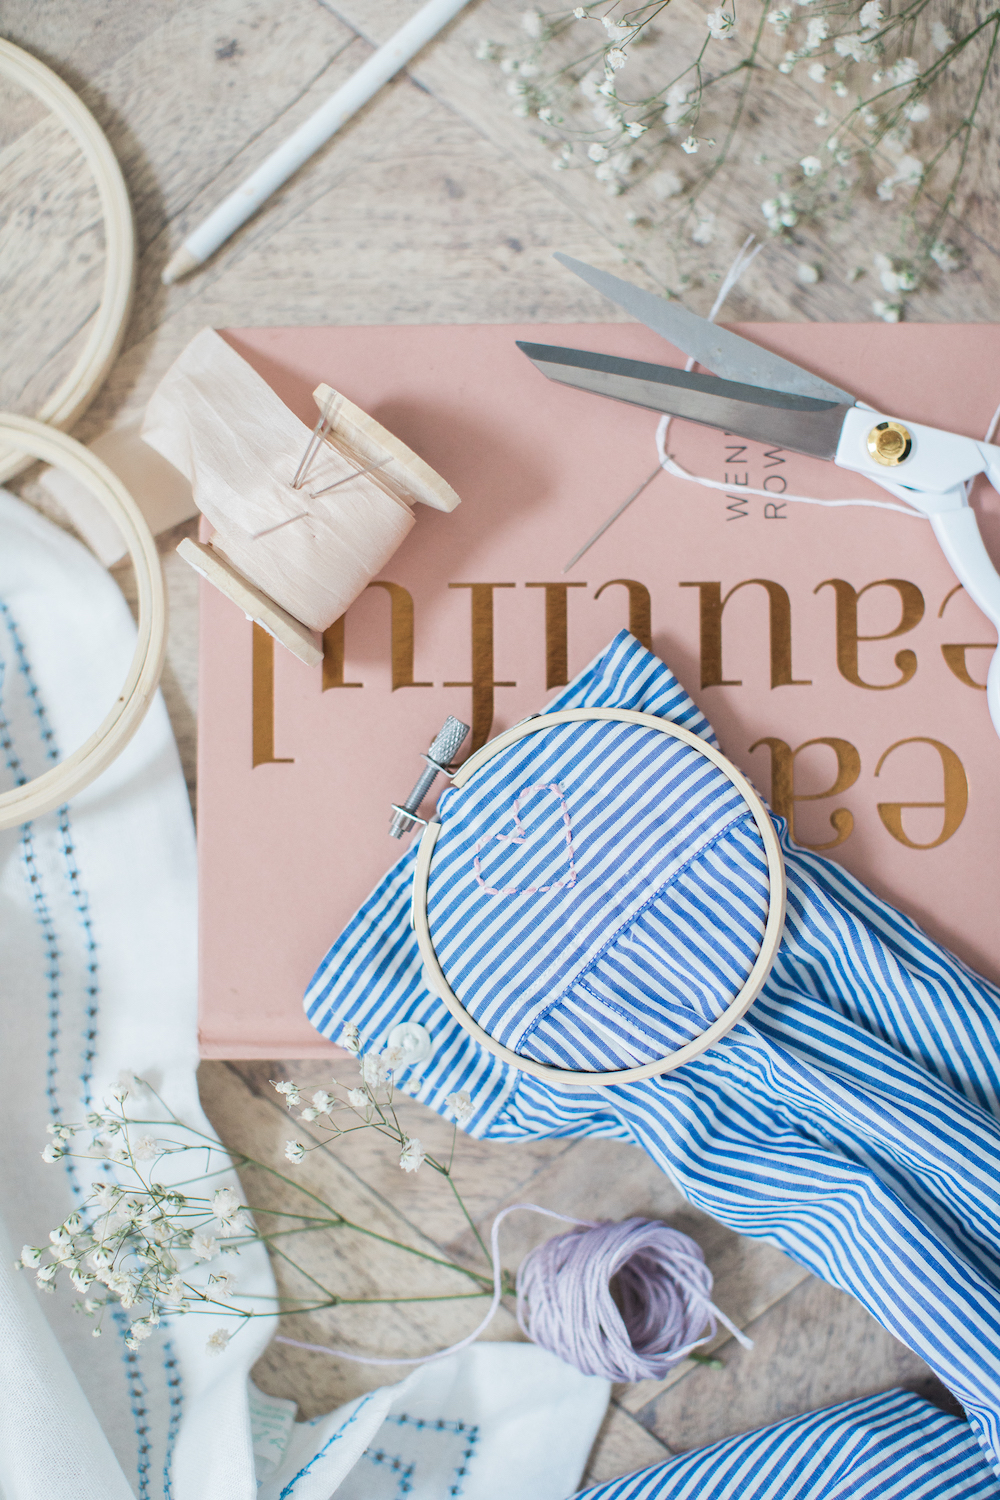
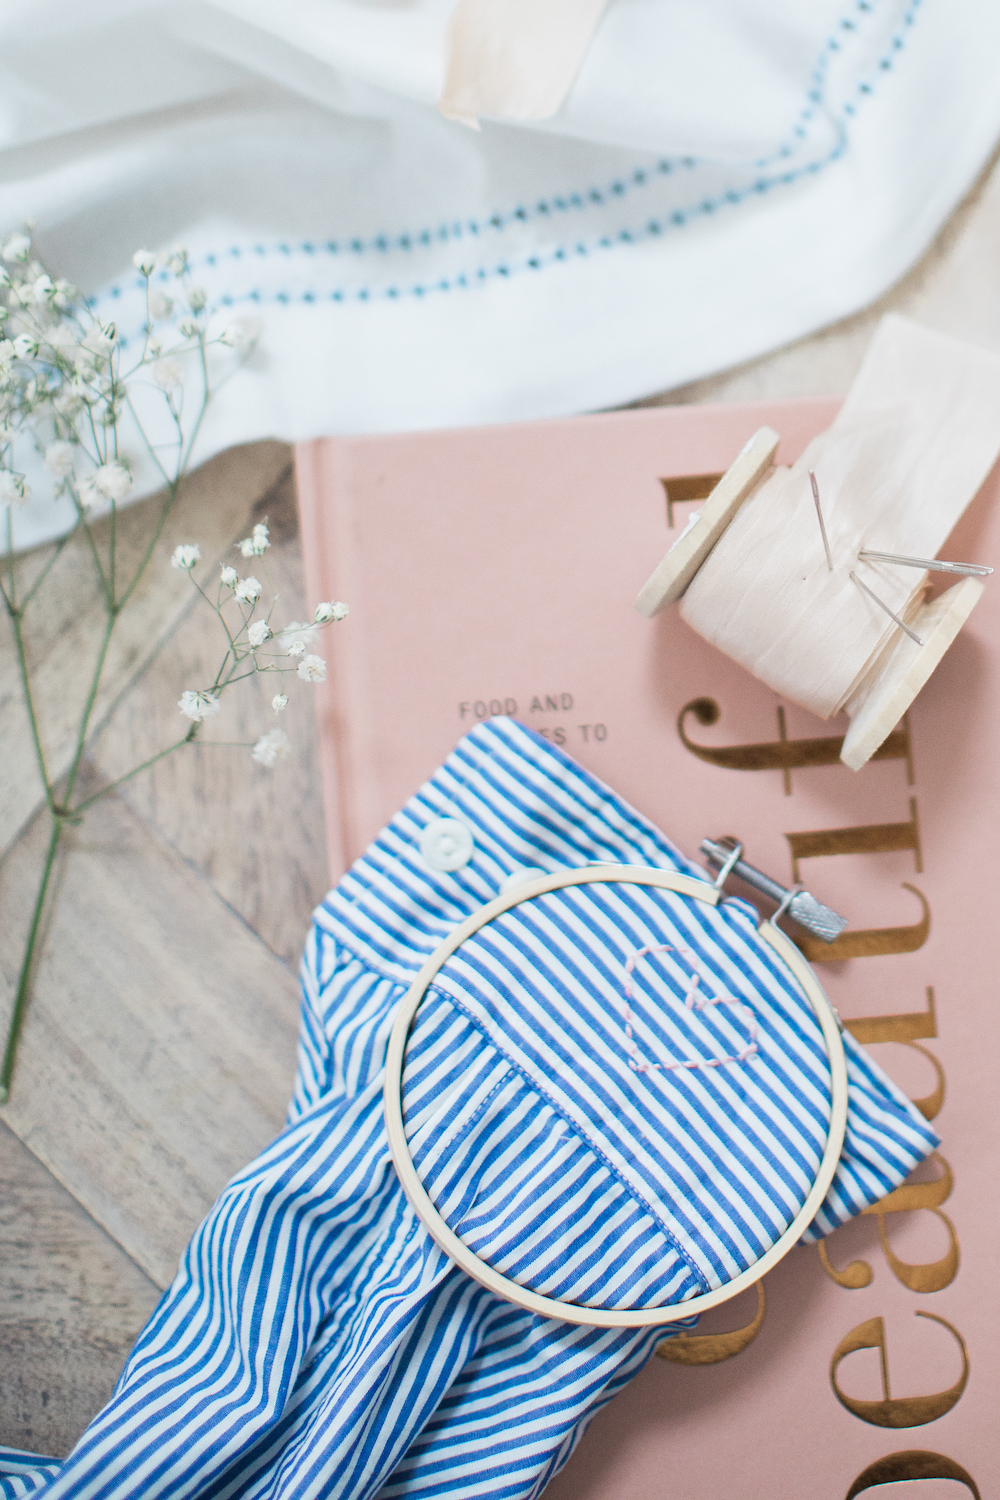
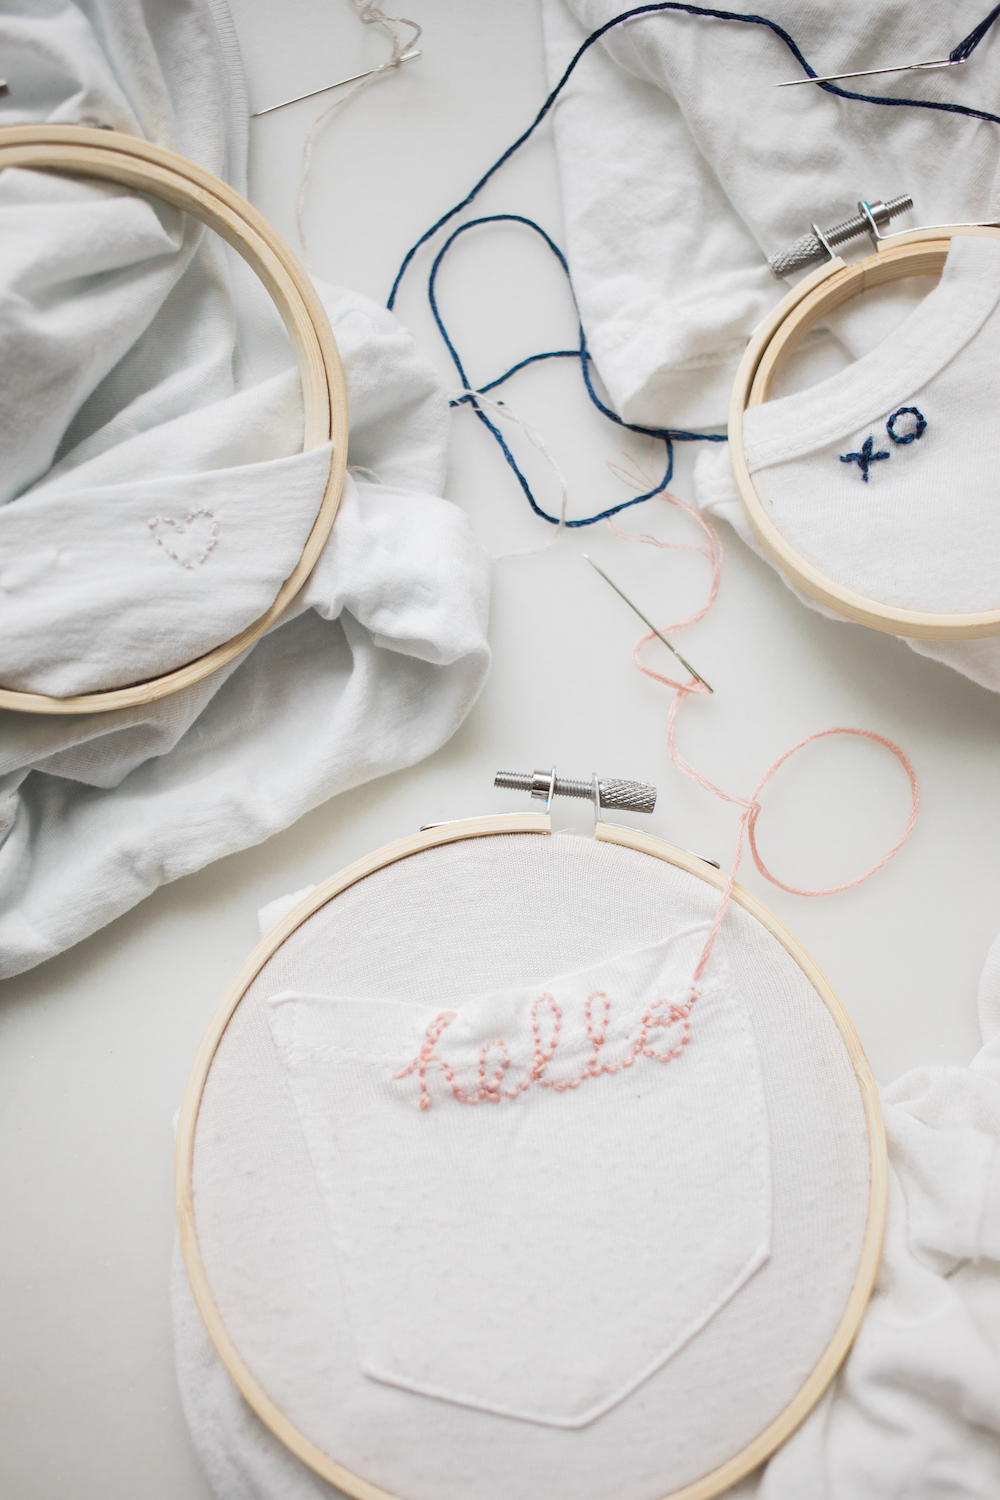
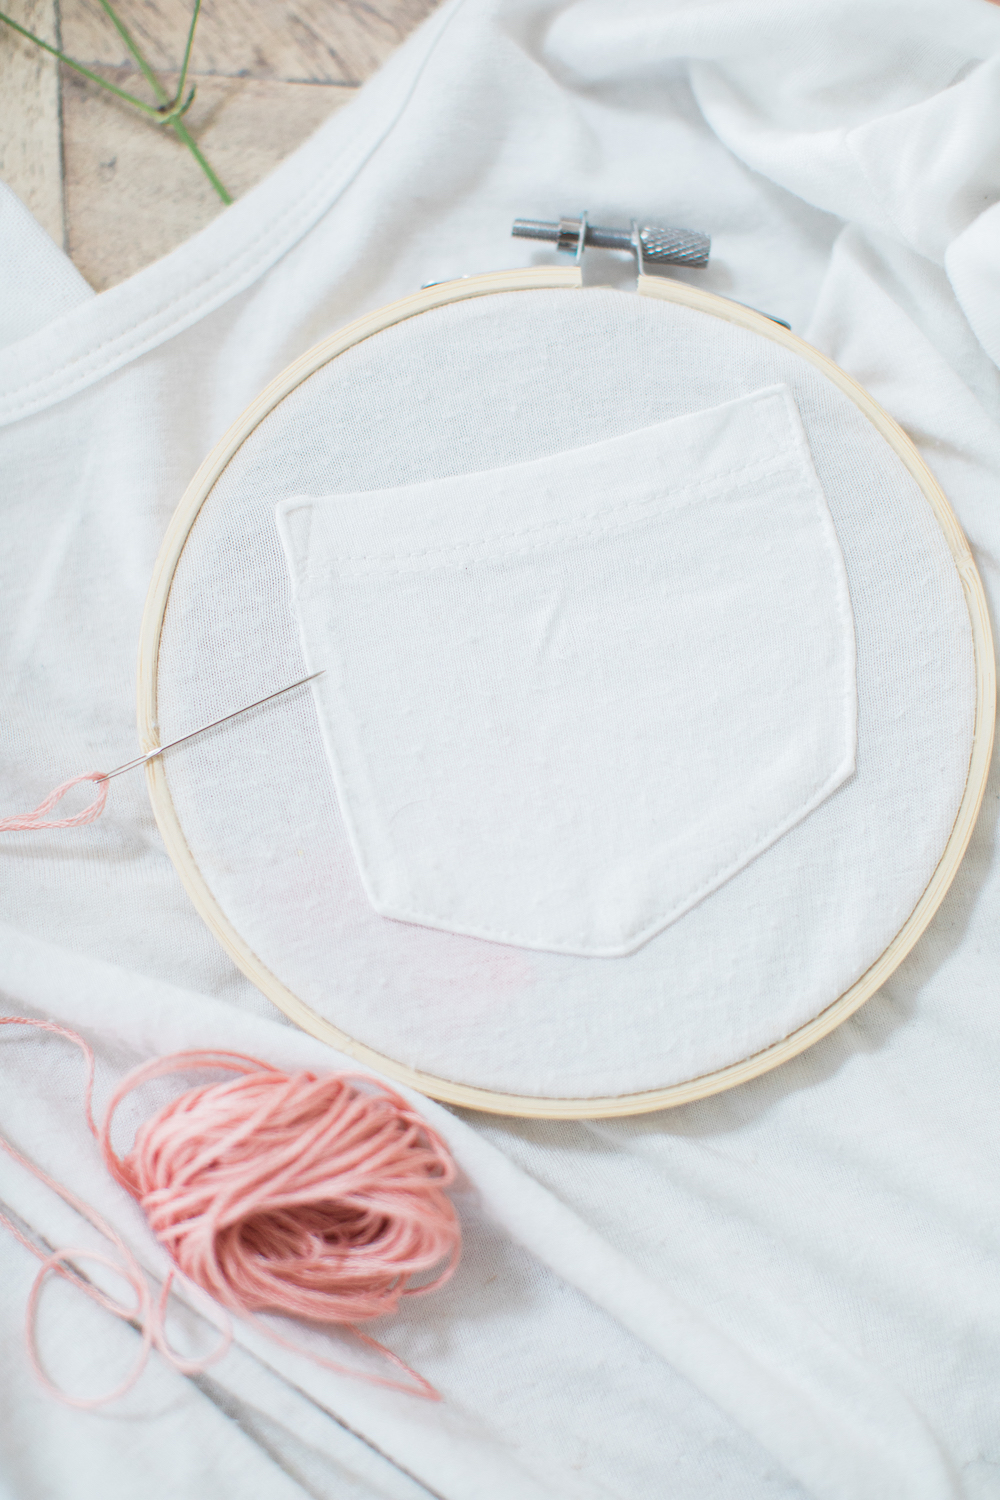
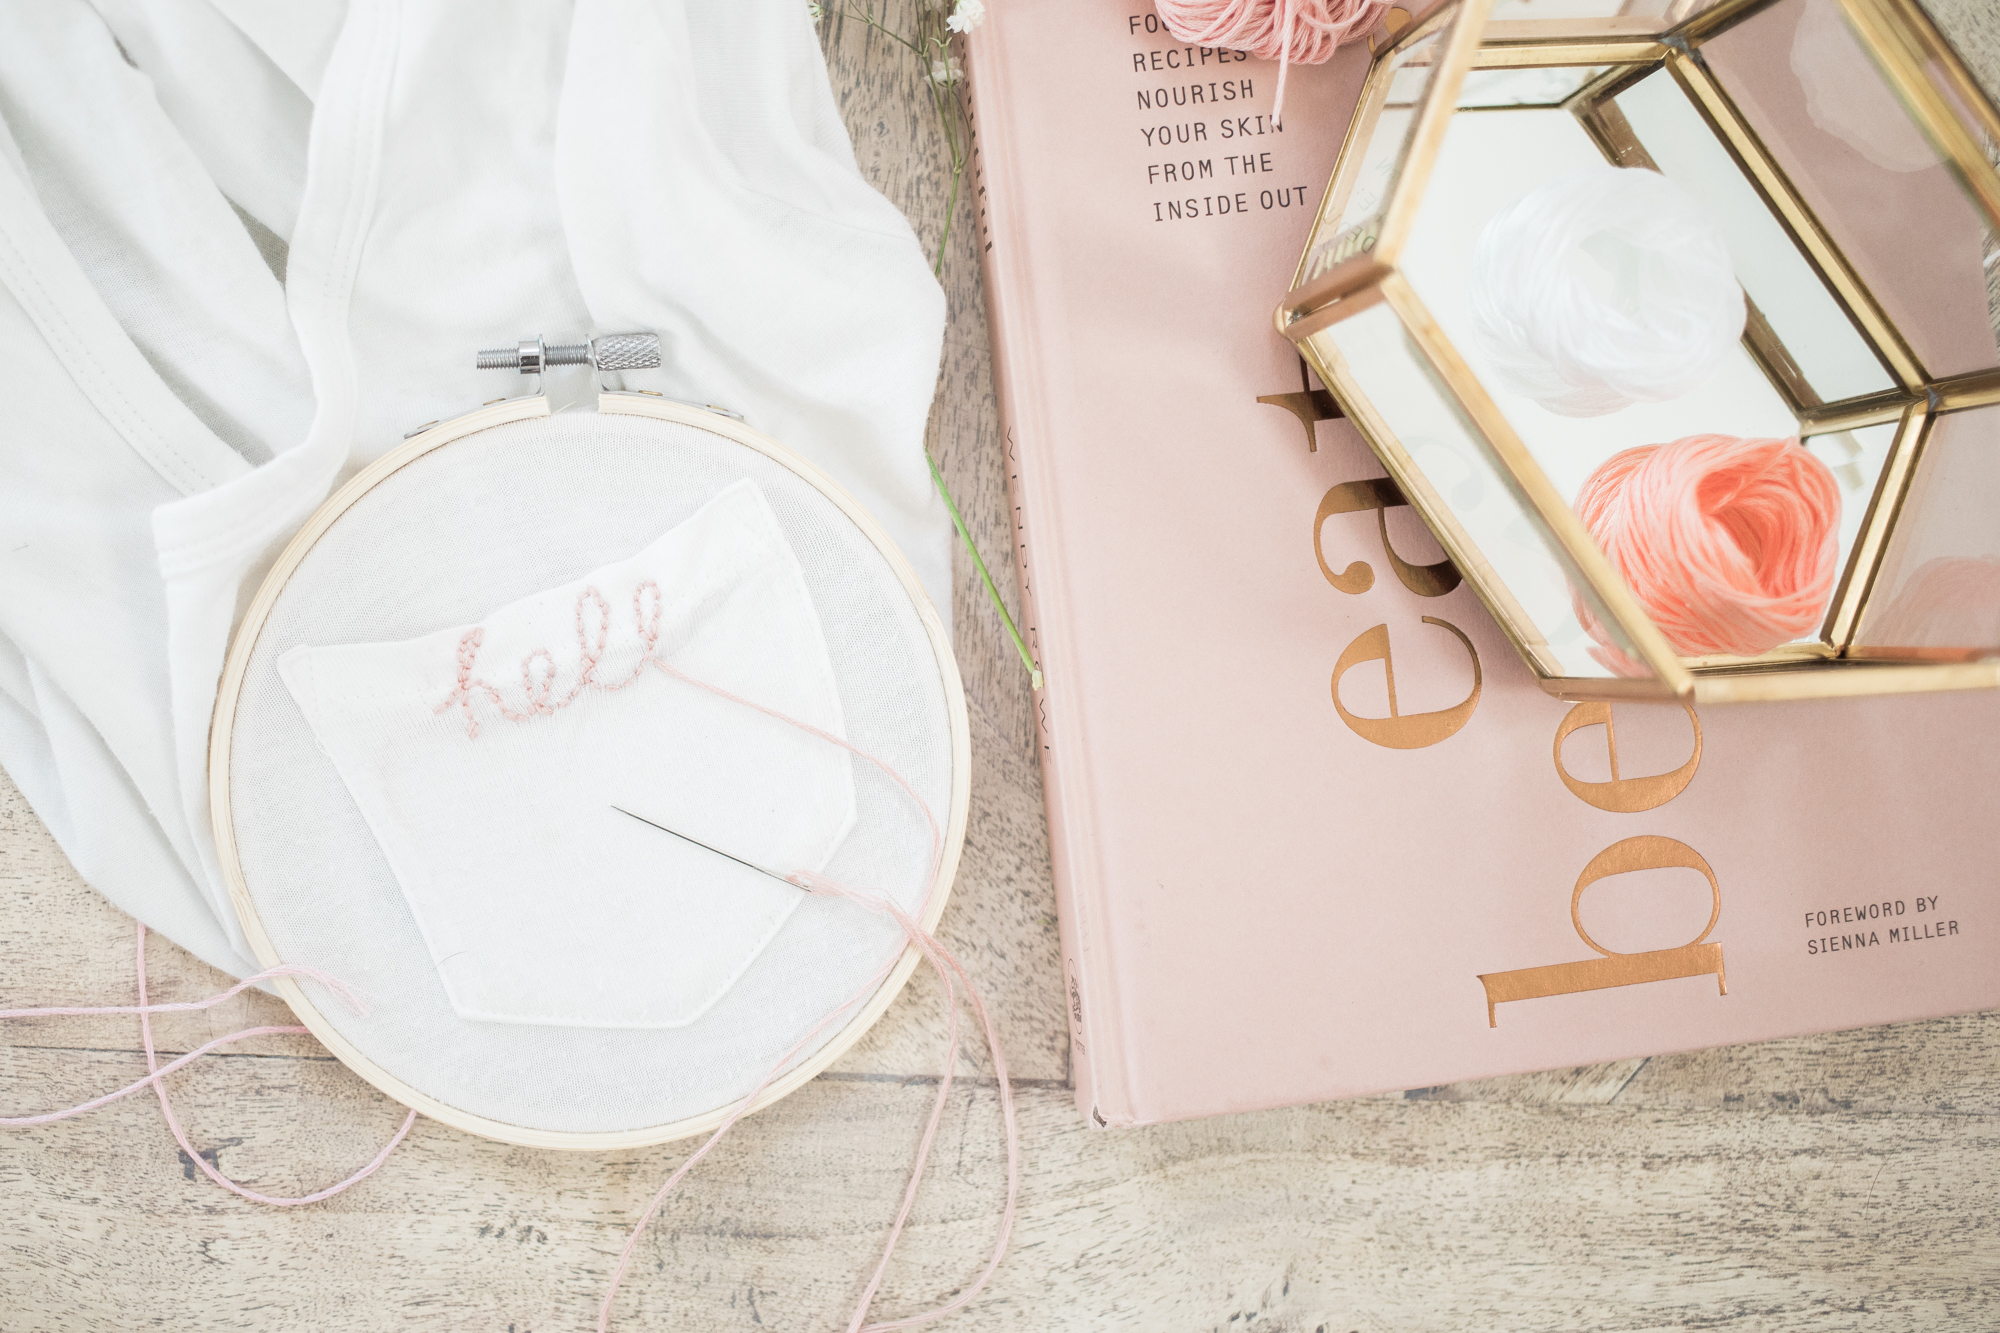
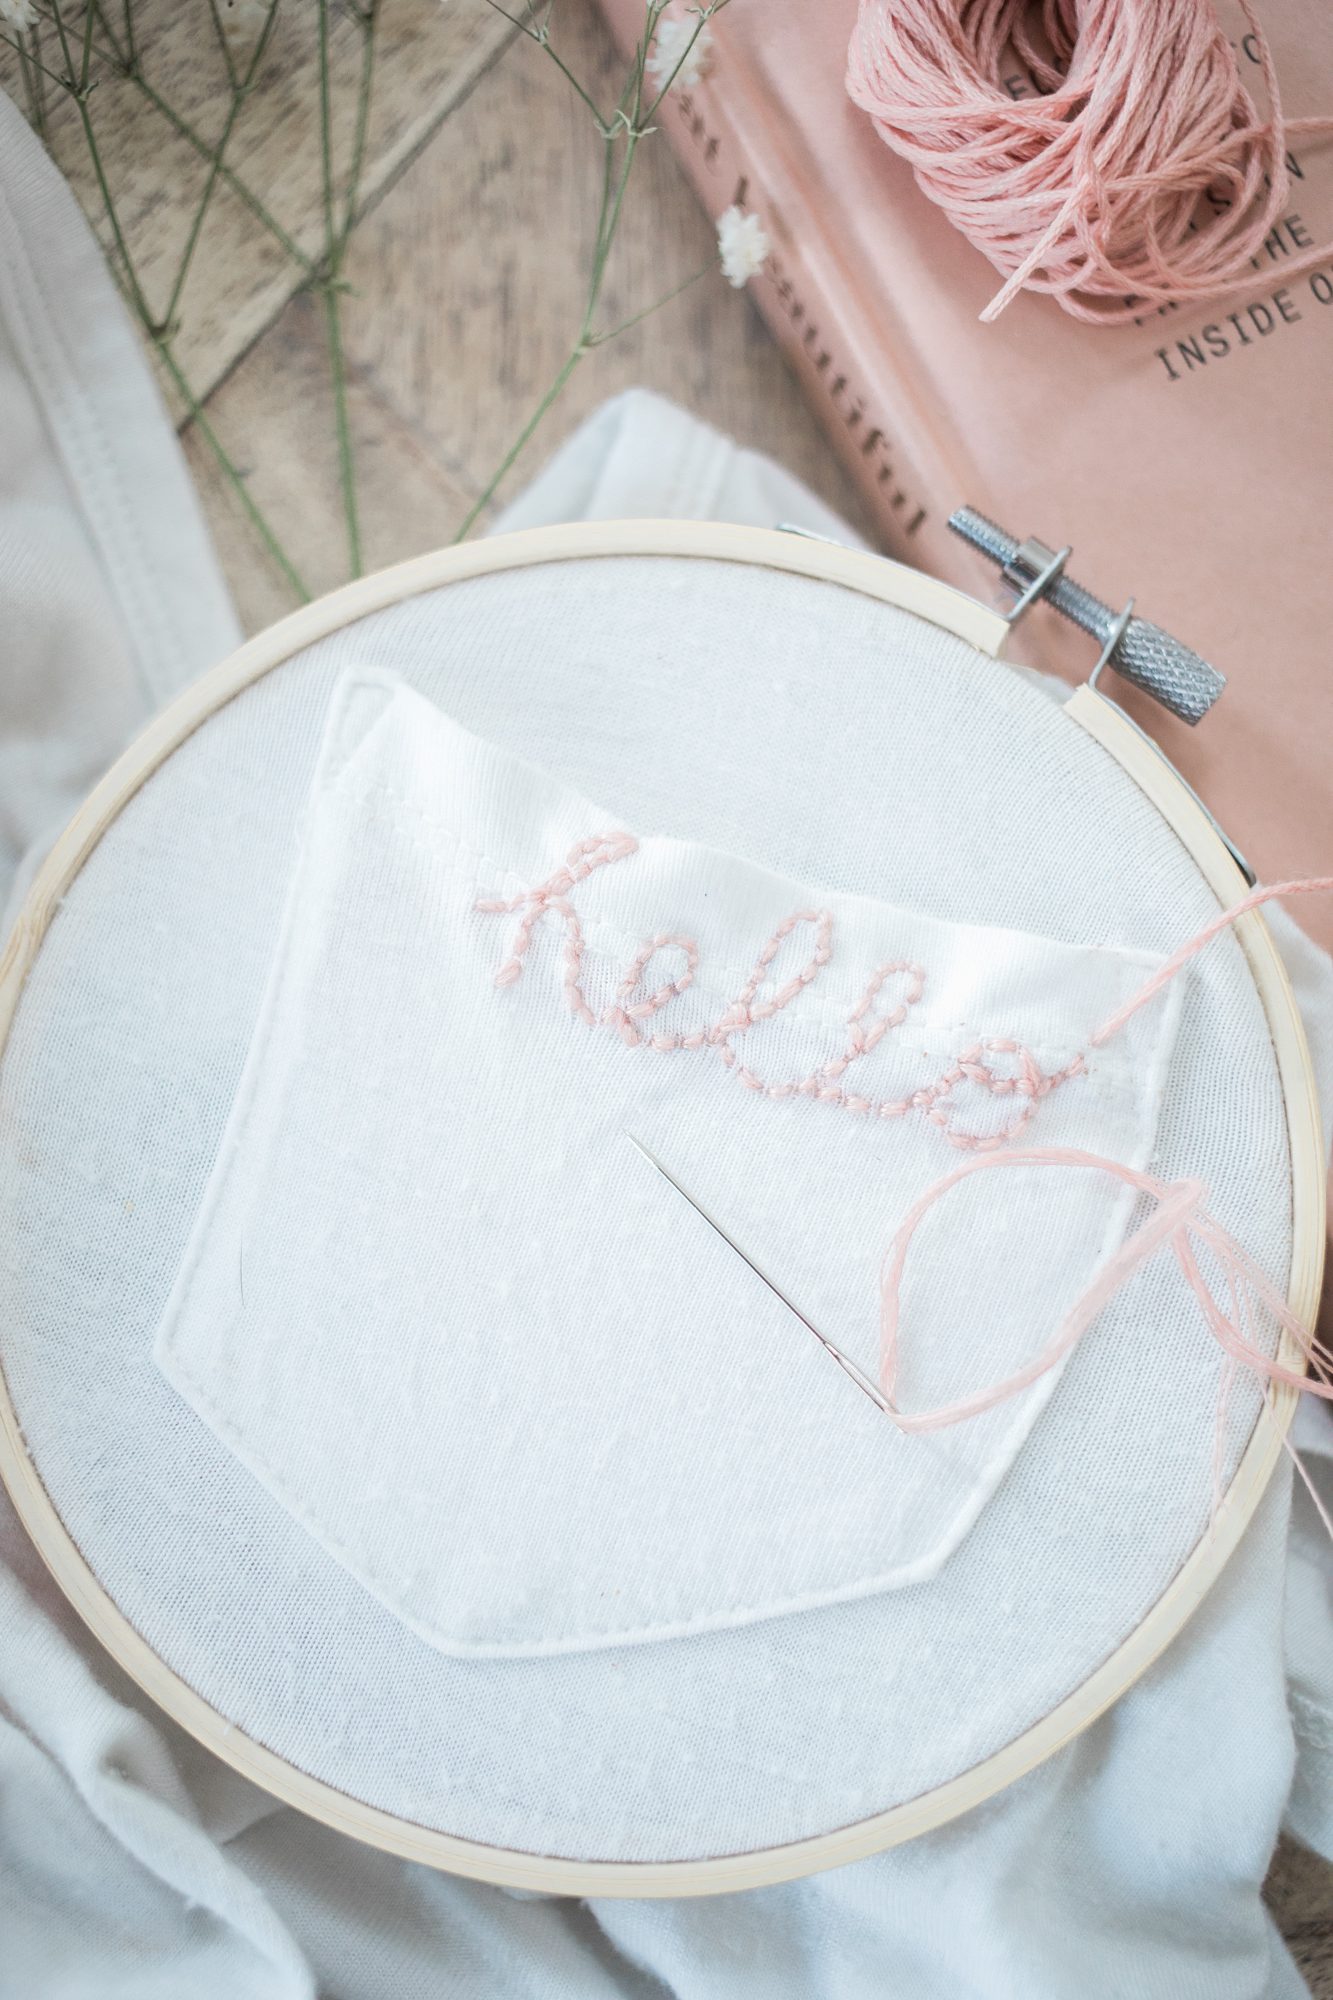
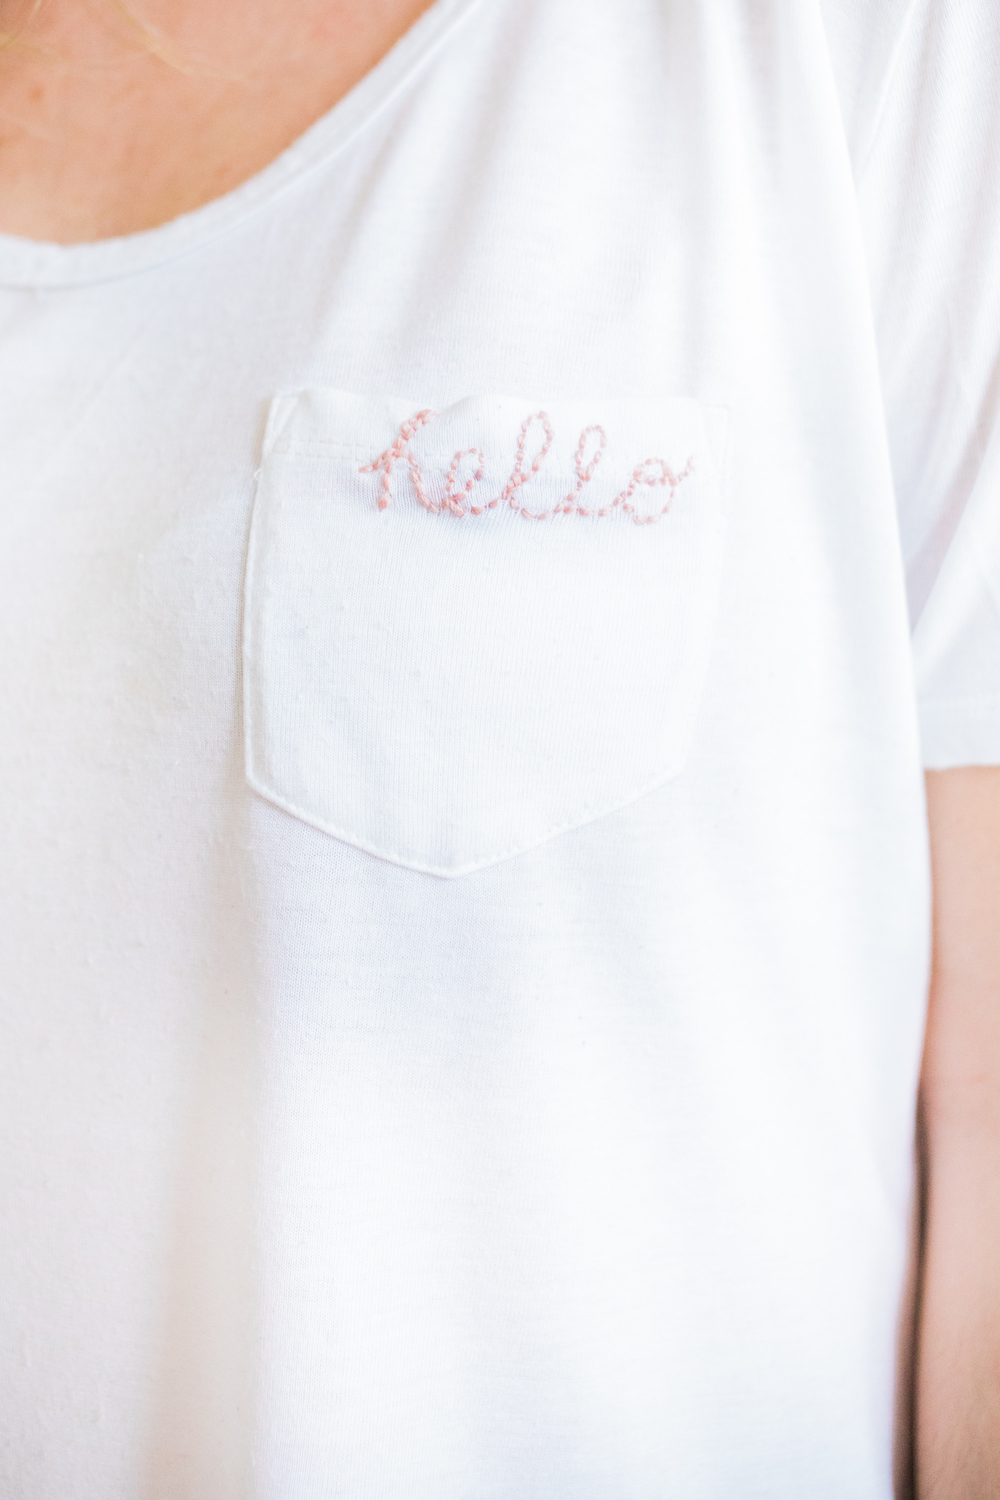
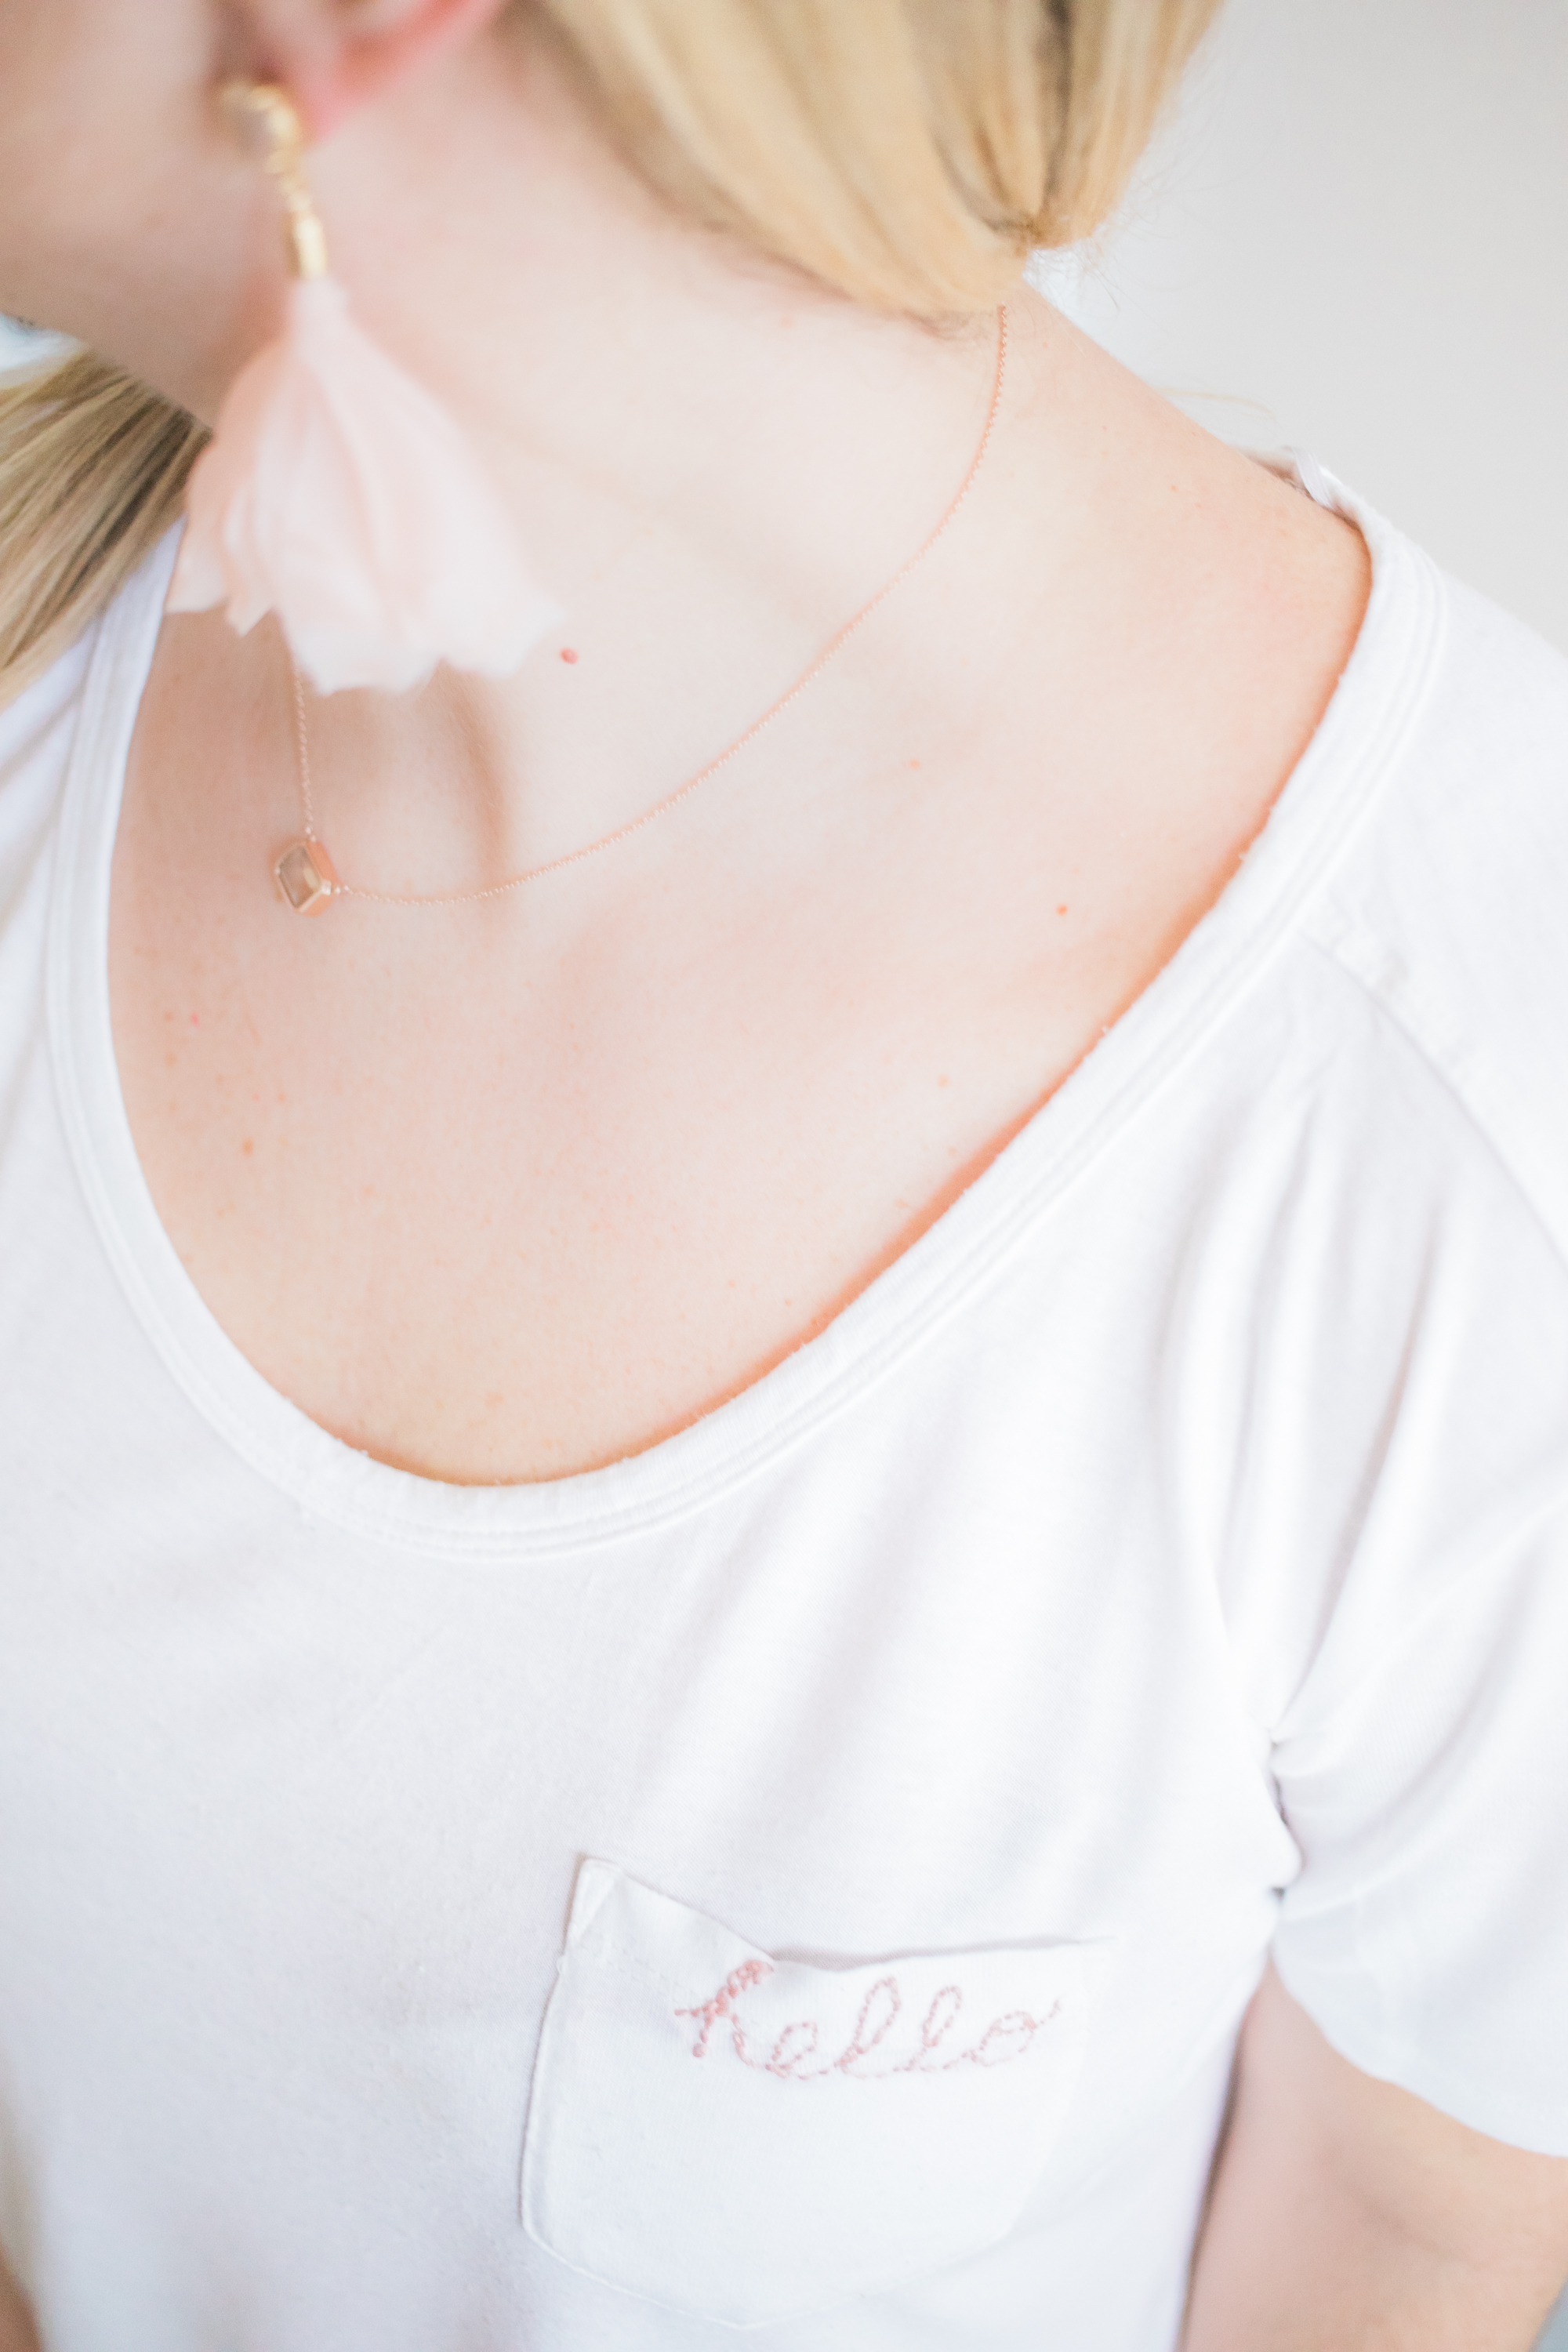
A top (We used white t-shirts- we love the pocket-tee & a blue-striped oxford)
Needles (We used size 22)
Thread
Embroidery hoops
Scissors
Pencil
What we did
We figure there are plenty of ways to go about starting this project. If you find something that works for you, great! If you have any tips to add, be sure to let us know by leaving a comment.
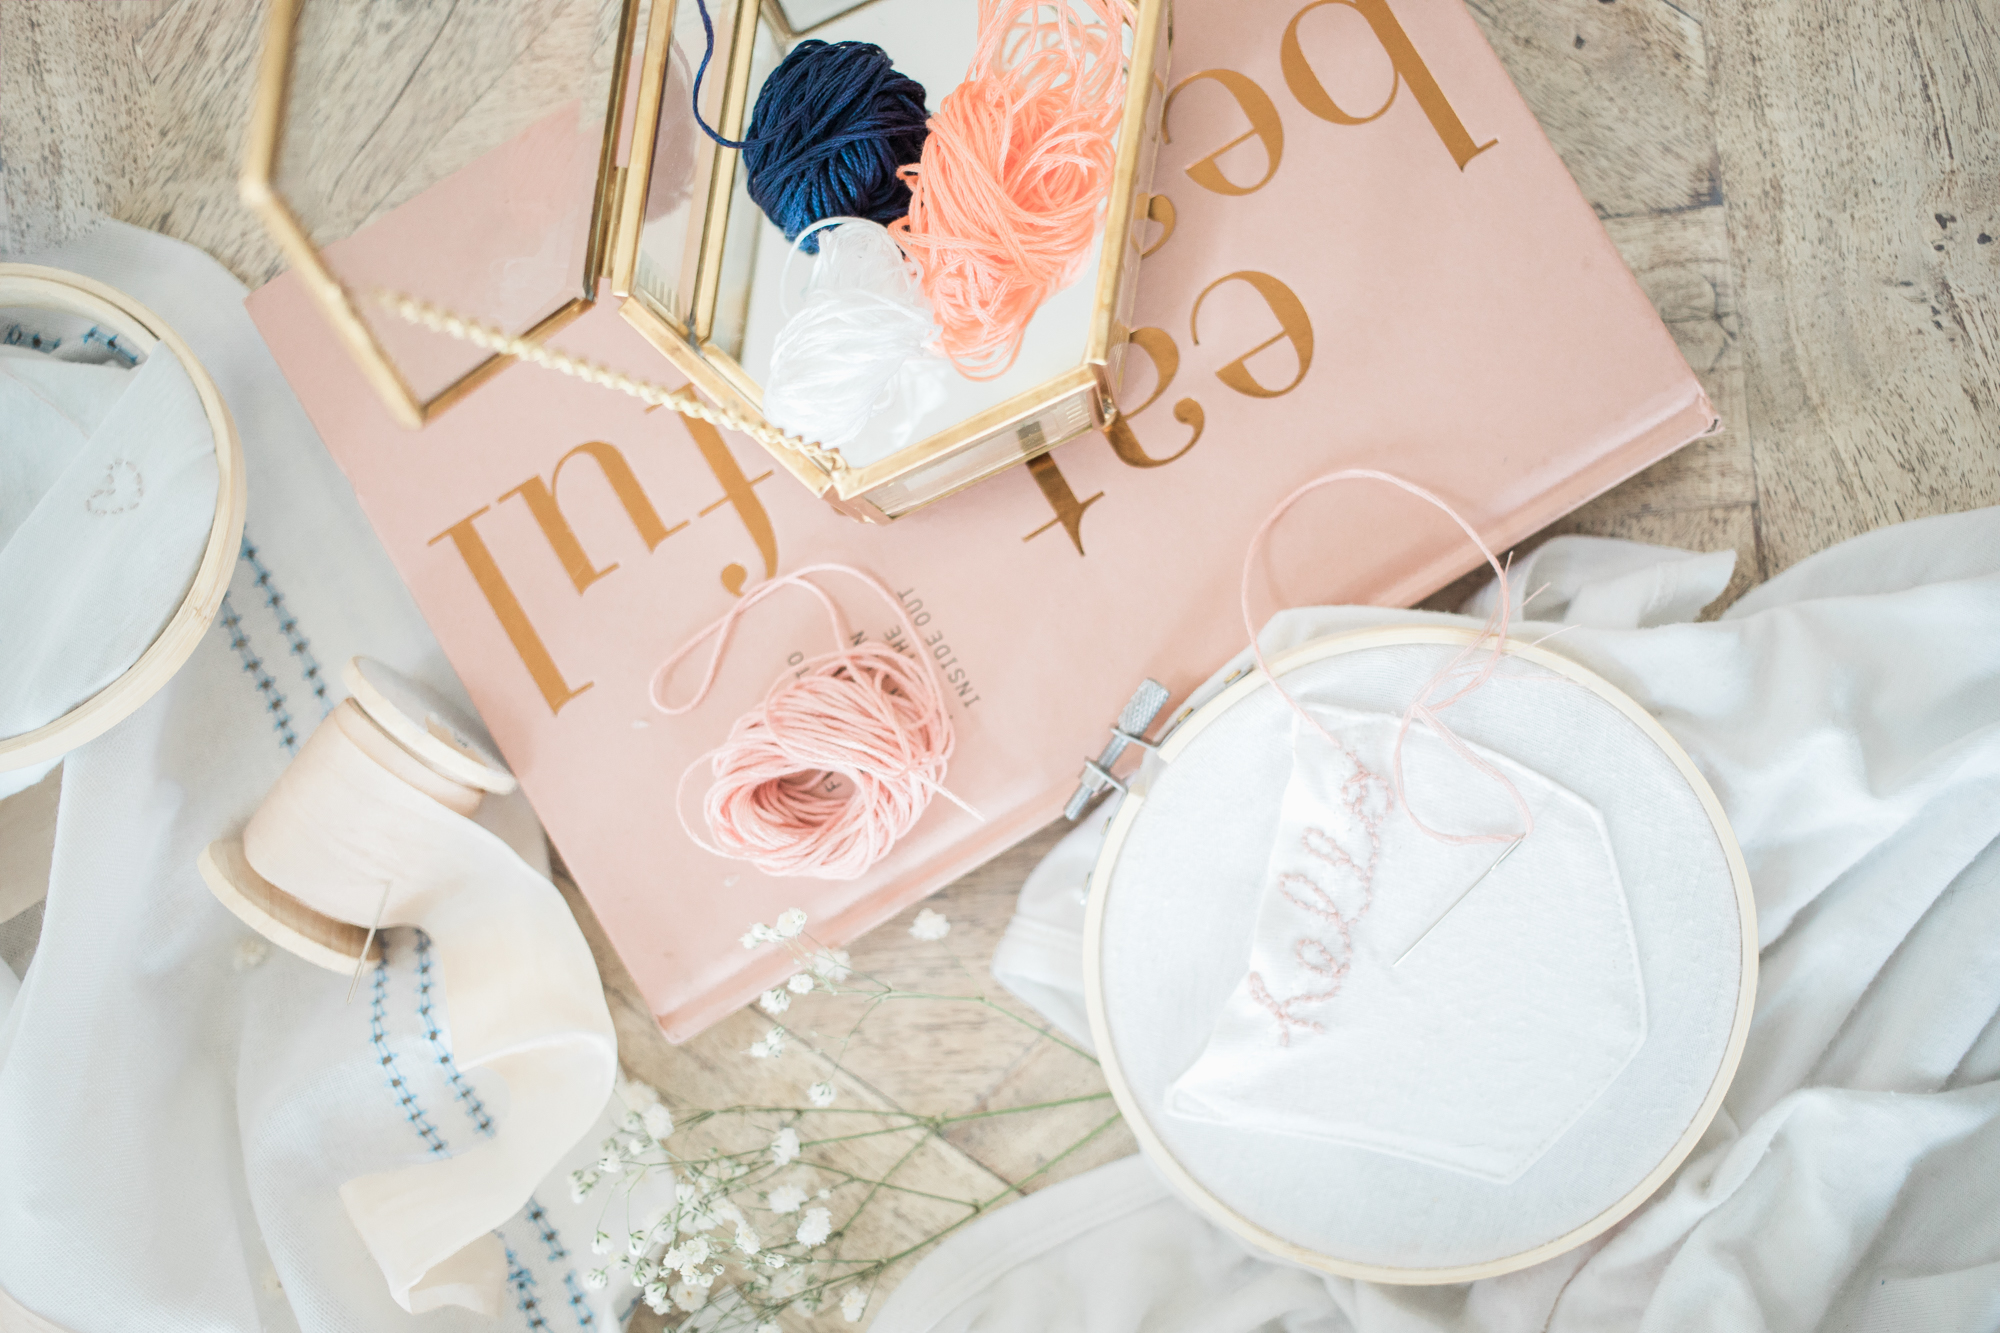
Decide where to put your design. Pockets, sleeve cuffs and collars are cute spots to consider.
Use a pencil to lightly sketch your design onto the area.
Tighten an embroidery hoop around your design to keep the fabric in place.
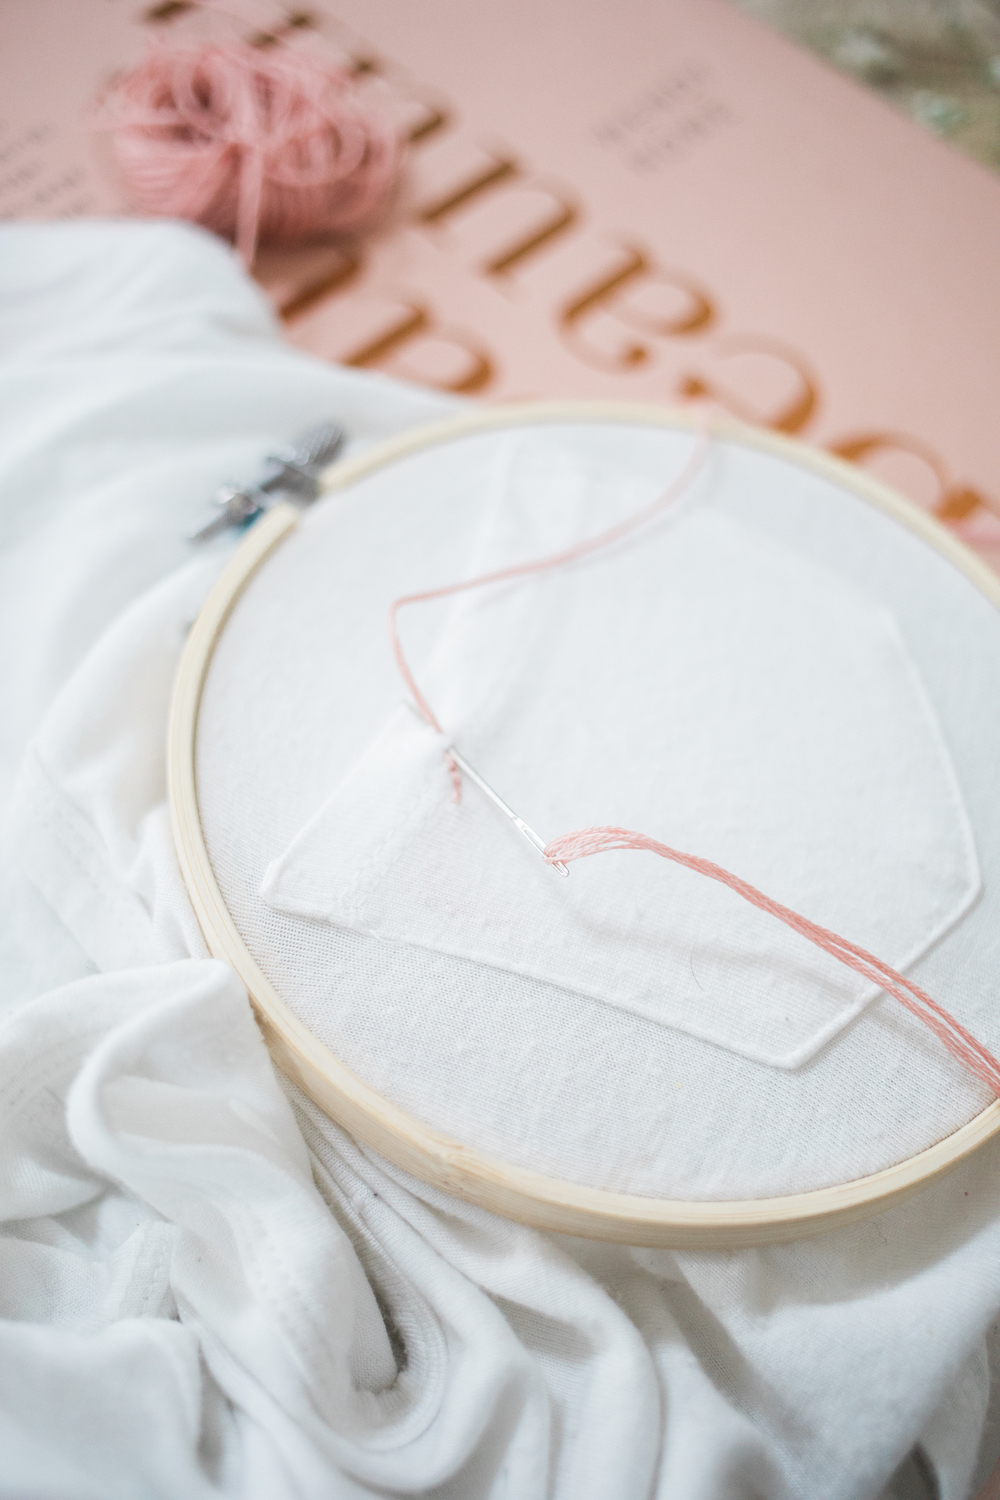
Thread your needle. Tie a knot at the end of the thread.
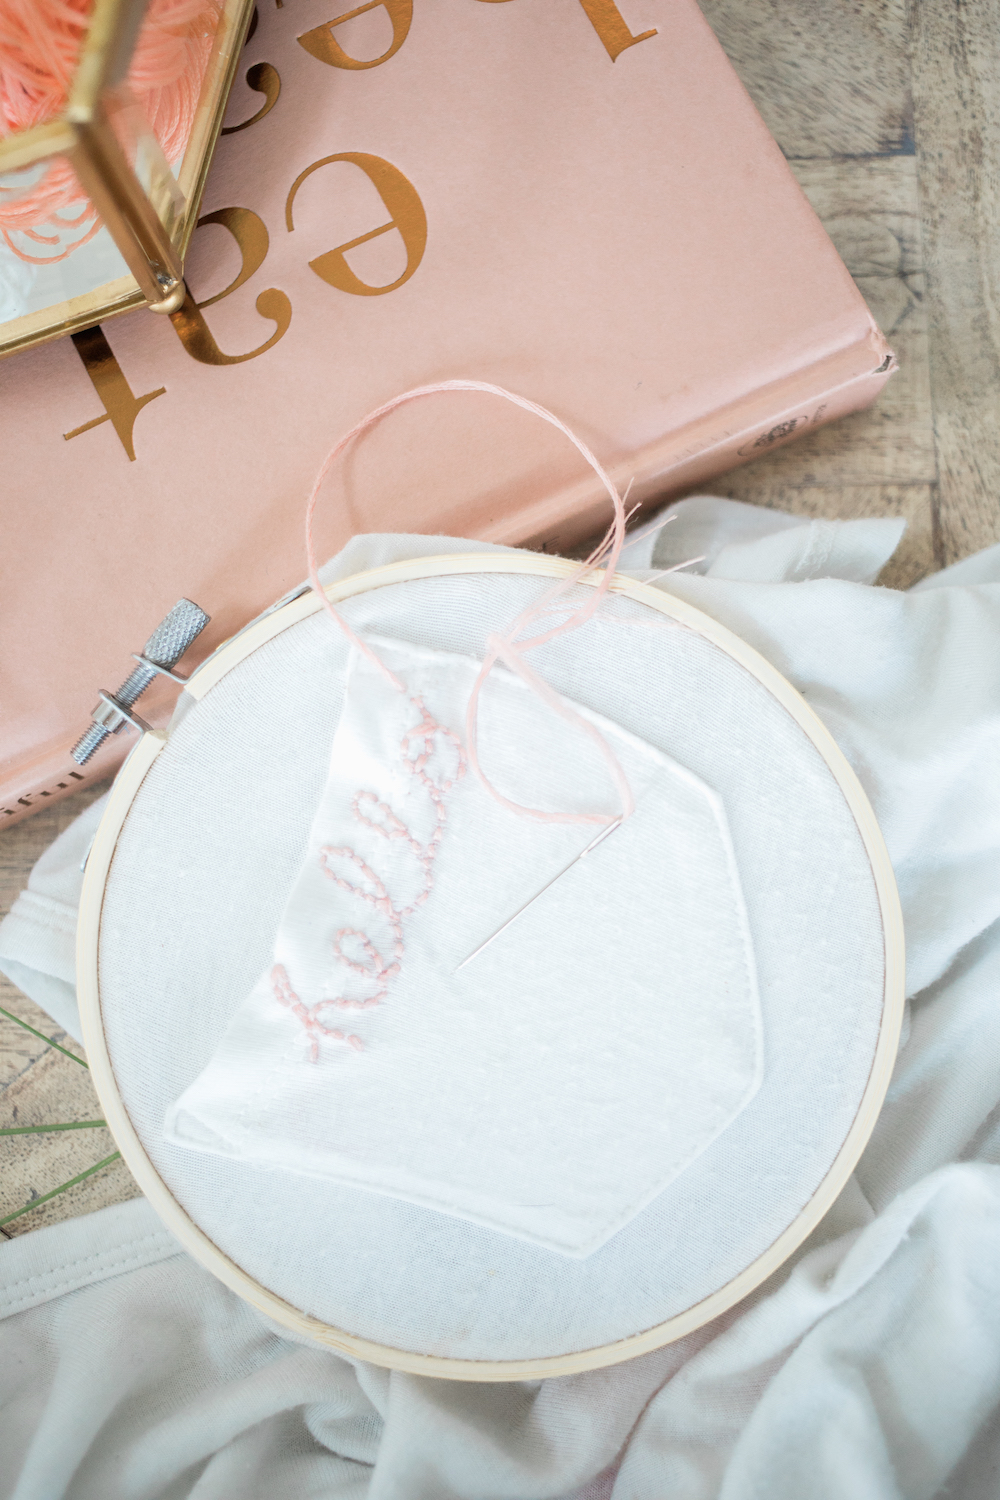
Start stitching! We stuck to tiny, simple stitches, going up and down through the fabric, tracing around the image or word you sketched.
Once you’re done and happy with the result, knot the thread. Depending on your design, you may choose to pull your needle through the first knot and loop it to create your final knot. (It worked when we stitched hearts and finished sewing at the same point where we started.)
Cut off excess thread. Admire your handiwork!
Tips
It’s worth taking the time to sketch out your idea first.
We bought a fancy water-soluble fabric marking pencil from a craft store but found a regular pencil worked fine.
Using the full strand of embroidery thread didn’t always work well with different t-shirt fabrics. Sometimes it pulled and left noticeable holes. Test how it works by making a couple of stitches on an inconspicuous area first. (Just don’t knot the thread so you can pull it out.) You may want to try a different needle size or use a thinner portion of thread so it doesn’t pull on the fabric when you tighten a stitch.
Shop The Post


amazing work.
cheap digitizing service